Becoming a Pilot in Canada
In late-August 2017, at long last, I obtained my Private Pilot’s License (PPL) at the Rockcliffe Flying Club (RFC) in Ottawa, Ontario. Becoming a licensed pilot was a challenging and rewarding experience which I cherish. However, learning to fly can be an intimidating prospect; at the outset, it can seem like a large and ill-defined financial commitment coupled with a complex syllabus. There is some truth in this sentiment, so I’m writing today to try to clarify the ideal training path and list all of the costs for would-be pilots who wish to know what they’re getting into. Additionally, I’ll include links to the relevant regulations and examination guides which serve as the authoritative source of truth.
Without further ado, I present the Canadian Private Pilot license requirements:
The above diagram depicts the order in which you must complete each of the requisite elements of the Private Pilot’s License according the Canadian Aviation Regulations. It looks complex because it is. Flying an airplane is a privilege and a considerable responsibility, and it’s up to the government to ensure that you are fit and capable. Below, I’ll describe each element in turn and proffer some guidance on when to start each task. This guide is designed to maximize the financial efficiency of your learning and avoid delays due to sluggish bureaucratic process. Ready?
Go!
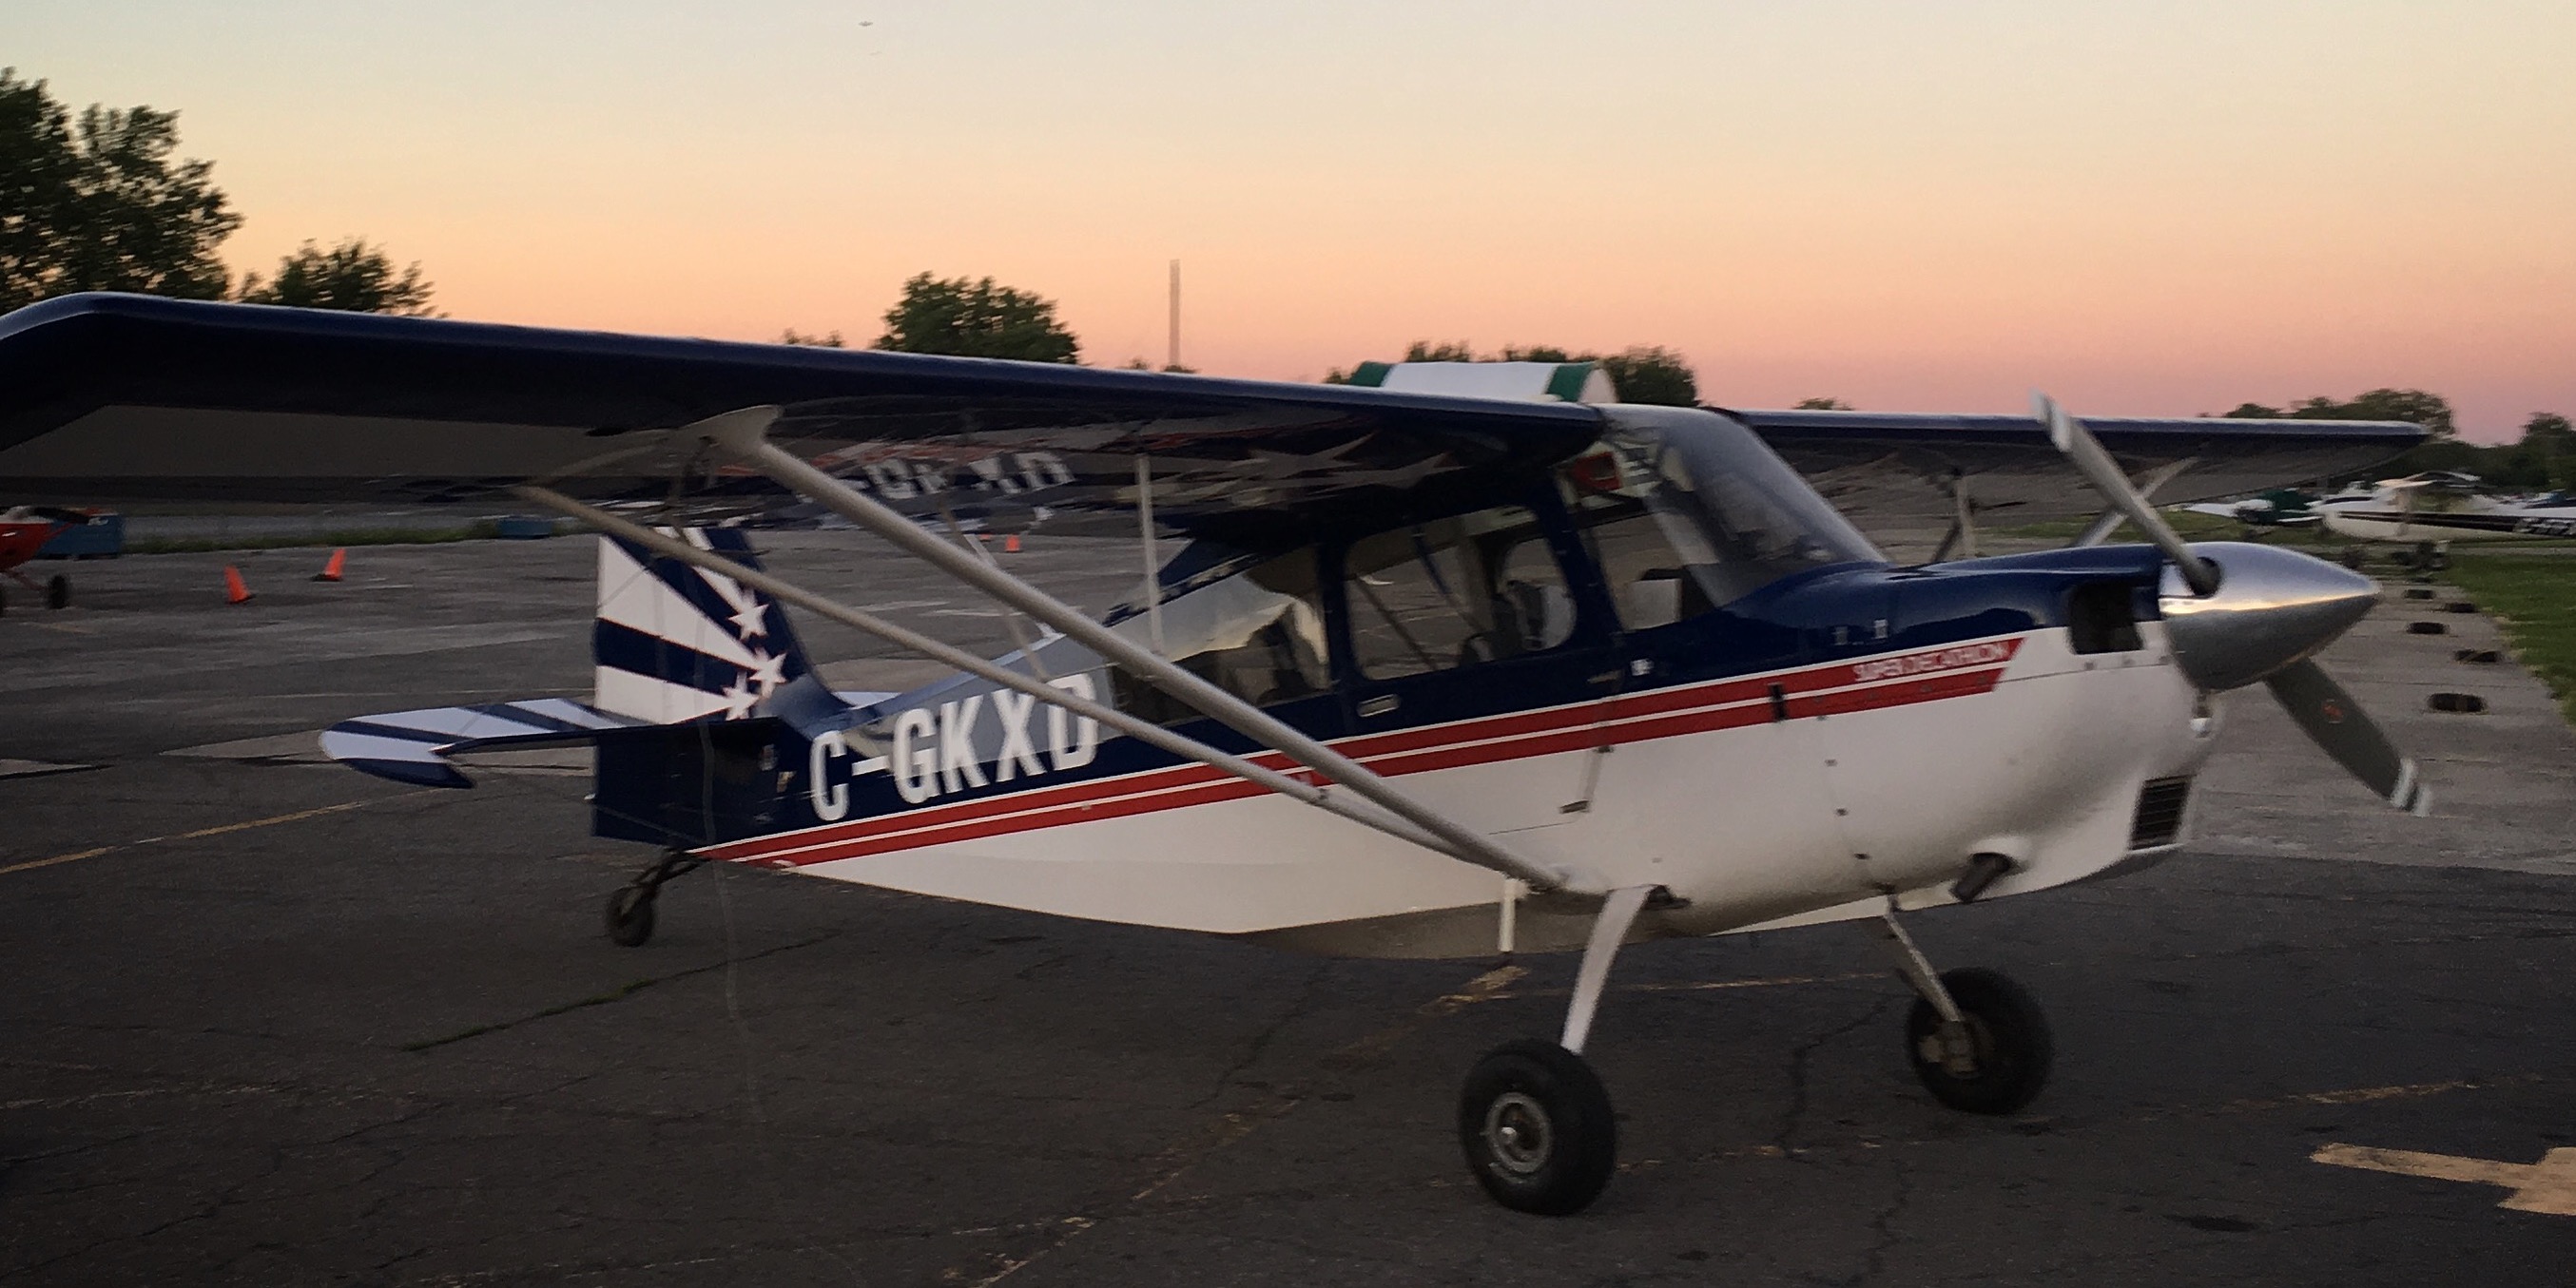
Introductory Flight. This is a single flight, about 30 minutes long, where an instructor will show you everything that is involved in a flight from pre-flight to shutdown. You’ll usually get to take the controls during the flight, although they will do the takeoff and landing for you. Intro flights can be a great way to evaluate the different flight schools in your area; they are generally accompanied by a consultation to discuss the school’s flight training regimen and fee structure. Don’t worry: time you spend in the air with any instructor can be counted as experience applicable to your license later. Not a cent wasted!
Anyone interested in learning to fly should start with this step, and there is no commitment required—financial or otherwise. Book an intro flight when you’re done reading this article, even if you’re not even if you’re not yet convinced that this hobby is for you.
If you do decide to pursue a pilot’s license, you can expect your training to conform loosely to three phases:
- Ground Training
- Pre-solo
- Post-solo
This will be followed by a practical flight test and a license application.
Phase 1: Ground Training
Medical Certificate. Pilots must always be medically fit to fly in order to keep the public safe. Part of fulfilling this obligation is carrying a current medical certificate, which requires an appointment with a local Civil Aviation Medical Examiner. Book this appointment as soon as you sign up for ground school. If you have any doubts about your medical fitness, book this appointment before you sign up for ground school, or make any other financial commitments.
Ground School. You are required to attend at least 40 hours of ground school in order to gain the knowledge required to fly safely in Canadian airspace. Ground school covers a fascinating array of subjects, from air law, to aerodynamics, to engines, to meteorology, to radio communications, to navigation, to human physiology. Don’t be discouraged if you are not an expert in all of these fields—student pilots never are. Ground school is designed for people with no background in science or mathematics, however, you should be prepared to spend spend a good chunk of time each week (6-10 hours for me) either in class or studying at home. If you can put in the time, you will easily be able to retain the knowledge required to pass the exams and keep you safe in the air.
Start your ground school course in January or February if you can. That way, you can sit in class while the weather is cold and the sunlight is limited; by the time your course is over, the flight conditions will be improving and you will be well-prepared to start flying.
Language Proficiency. In order to apply for a license, you must demonstrate that you are capable of communicating on the radio in English or French1. Note that this process was updated in December 2018. New student pilots should refer to this advisory circular and either ensure that they speak and understand at an expert level, or arrange for a formal evaluation before investing too much money in flight training.
Phase 2: Pre-solo
PSTAR. The PSTAR (Pre-Solo Test of Air Regulations) is a short test of your knowledge of basic air law. You’ll answer 50 multiple choice questions from a 200-question bank, all of which are available to you as part of a study guide published by Transport Canada. Study for and complete this test as soon as possible after ground school, since it is required for your Student Pilot Permit.
Radio Exam. Pilots use two-way radio equipment to communicate on aeronautical frequencies while flying. Radio communication on restricted frequencies is regulated by Industry Canada according to the Radiocommunication Regulations. In order to operate a two-way radio in an aircraft, you must hold a Restricted Operator Certificate with Aeronautical Qualification (ROC-A), for which you must pass a short examination. Industry Canada provides a study guide. Study up and book this test as soon as possible after ground school—it is required2 to fly solo.
Pre-solo Flight Training. Here, you’ll learn and practice everything you need to know in order to safely take off, circle back, and land. This can take anywhere from 7 to 14 hours of flight time. Your instructor will teach you how to:
- check that the airplane is airworthy before flying;
- fly straight and level, turn, climb, and descend;
- taxi, take off, approach, and land;
- communicate on the radio at your home airport;
- handle any malfunctions that may come up; and
- recover the aircraft quickly if you lose control.
Though you may start flight training right away if you wish, I strongly recommend that you wait until you’ve completed ground school. A large part of the expense of flight training is flight time and the instructor’s hourly rate. Without the knowledge that you learn in ground school, your flight training will progress slower and you’ll have to spend more time briefing before each flight with your instructor, at your expense.
Student Pilot Permit. This document is the authority under which you are allowed to fly without an instructor before you are a fully-licensed pilot. To qualify, you must hold a current medical certificate, pass the PSTAR, and be recommended by your flight instructor. Any flight you make under this authority must be for the purpose of flight training and authorized by your flight instructor; you may not carry passengers. Your instructor will let you know when it’s time to apply, but be sure that the other requirements are satisfied in advance.
First Solo Flight. After all of the paperwork is out of the way, and on a day when you are flying and landing confidently, your instructor will jump out of the plane and tell you to do a loop around the airport by yourself. Enjoy the extraordinary feeling of flying alone for the first time! The plane will feel light and nimble without in your instructor’s absence, and the added adrenaline will heighten your focus. If your club is anything like mine, you should bring a change of clothes.
Phase 3: Post-Solo
Now that you’ve completed your first solo, you’ll start progressively venturing out on your own. Your instructor will introduce a new concept on one flight, then you’ll practice that skill on your own the next flight. Each solo flight is briefed with your instructor in advance. This practice allows you to build confidence in your air work while your welfare is still safeguarded by the instructor’s judgment regarding your proficiency and the weather conditions.
During this portion of your training, in addition to practicing the skills you learned before your first solo, you’ll learn how to:
- takeoff and land on short and soft runways;
- takeoff and land in a crosswind;
- fly using only the instruments, without being able to see the horizon; and
- navigate long distances.
Written Exam. The written exam exercises the knowledge you learned in ground school. To write it, you are required to:
- hold a current medical certificate;
- have completed ground school; and
- have completed 10 flight training hours.
Again, there is a study guide. Book this test as soon as you have the 10 flight hours so that the studying doesn’t conflict with your flight test later on. Additionally, the material that you will be studying, especially that relating to meteorology and navigation, meshes well with the navigation work that you will be doing in the air.
Flight Test Preparation. At the end of your training your instructor will work to prepare you for the test by ensuring that you can perform all of the maneuvers up to the Flight Test Standard. Once you’re ready, you’ll likely do a complete mock flight test with an instructor other than your own. This will put you out of your comfort zone, familiarize you with the process, and help ease your nerves before the big day. Ask as many questions as you can—as with any examination, there are rules of thumb and gotchas, the knowledge of which can give you an edge.
During this stage, you’ll also work with your instructor to ensure that you meet the minimum experience requirements. Before applying for a license, you must log at least 45 hours of in-flight training, with the following conditions:
- at least 17 hours with an instructor;
- at least 3 hours of cross-country flight with an instructor;
- at least 12 hours solo (without an instructor);
- at least 5 hours of solo cross-country flight
- at least one 150 nautical mile solo cross-country flight
- at most 5 hours in an approved flight simulator
Flight Test
The final exam has three parts.
Flight Plan. You, the candidate, receive a cross-country flight task from the examiner the day before the exam. They’ll choose the destination(s) and the departure time and you must plan the route of the flight, taking all of your knowledge into consideration. You’ll calculate takeoff and landing distances, weight and balance, cross-wind corrections, time en route, fuel burn, etc. Meet the examiner at the appointed time with a complete flight plan and the day’s weather in hand.
Ground Items. The examiner evaluates your knowledge of flight planning, weather, aircraft maintenance rules, aircraft performance, and weight-and-balance. This typically takes 1-2 hours.
Air Items. You and the examiner go flying for 2-3 hours, and you demonstrate your ability to operate the airplane safely, navigate accurately, perform emergency procedures, and takeoff/land under different runway conditions.
You’ll likely find this to be quite a stressful affair. I did. It will feel like everything is happening quickly (it is), and you don’t have time to mentally prepare for each situation that the examiner prescribes (you don’t). This is deliberate. Just as important as your ability to execute each maneuver accurately is your ability to perform under stress, and this faculty is evaluated during the flight test. Be sure to mentally prepare yourself for this by committing as much as possible to instinct and muscle memory so that your brain has more capacity for the curve-balls. This will serve you well on the test and it will make you a safer pilot.
Booking a flight test can be frustrating. There can be a long lead time for examiners and it’s not really appropriate to book the appointment before you’re ready to go, since your remaining flights may be scrubbed due to weather or maintenance. Once you are ready, you then have to maintain that high level of proficiency until the test comes around. The best you can do is work ask your flight school to help you make the process as efficient as possible.
The Cost
I won’t beat around the bush; flying is expensive. It’s hard to nail down the exact cost of learning to fly because it depends on so many factors:
- the instructor’s hourly fee
- the airplane rental rate
- the number of hours it takes you to learn to fly
- the cost of aviation fuel in your region
By way of example, I’ve embedded below a summary of my expenses, derived from digital invoices and my logbook.
Note that I completed my training in about 54 flight hours, when the rental rate at RFC was slightly lower than it is today.
This may differ from other information you’ve found online. There are several possible reasons for this:
- Your local flight club has different rates for instructors and aircraft rentals than RFC did in 2017.
- Your quoted price doesn’t include taxes, which add up to a considerable amount.
- Flight schools sometimes omit some ancillary costs, such as examination fees and learning materials, or list membership fees separately from the training fees.
- Flight schools sometimes quote you for the minimum 45 hours of flight time without mentioning that it is extremely rare for students to be ready in this amount of time. Beware the schools that advertise this way as it is considered a dishonest practice. The average required flight time is hard to nail down, but is usually estimated to be more than 60 hours.
Financial Planning
When shopping for flight schools, be sure to ask about every fee in the table above. All of them are required. Ask also for the average flight time required for their students to finish their training. Create a spreadsheet and crunch the numbers, accounting for the average student flight time and remembering to add your regional tax rate to the fees which don’t include it.
You’ll end up with a rather large number, but there’s a benefit: If you account for everything in the table above, the number will not get mysteriously bigger as is the experience for so many new pilots. With accurate information, you’ll be in a better position to determine when you’ll be able to afford to fly.
Minimizing the Cost
In order to minimize the cost of learning to fly, you should aim to minimize the hours you need to spend in the air in order to become proficient. I used two strategies which both reduced my cost and made me a better pilot.
Home study. Study the next flight’s lesson in advance. One particularly effective method is chair-flying: sit in a chair in front of a blank wall, run the checklists, adjust imaginary controls, say what you’d say on the radio. Do the whole flight like this, and practice key maneuvers a few times. It will help you build muscle memory and prepare you to act calmly in the cockpit. You’ll need less time briefing before the flight, and you’ll require less flight time to master the skill.
Another good application of this strategy is radio work. Improve your understanding of radio chatter by listening to your local frequencies on LiveATC and practice the phonetic alphabet by reading license plates to yourself while driving. Learning to effortlessly communicate on the radio eliminates a significant attention sink during training flights and increases the pace with which you can learn other skills.
Fly as often as possible. If you wait too long between lessons, your skills will atrophy. If you fly more often, you’ll retain more information and progress quicker, which means you will require fewer expensive flight hours overall. This means:
- Save enough money that you will be able to financially support a fast pace of training.
- Select a flight school with good instructor and airplane availability.
- Aim to fly at least 3 times per week if you can.
- Book appointments aggressively, so that you maintain your pace even when appointments are inevitably canceled due to weather or maintenance.
- Train in the summer months, when there is more daylight and better weather.
This strategy is especially important during the pre-solo phase of training because that is when you are developing your fine-motor skills and muscle memory.
To Summarize
To make flight training painless and fun:
- Start with a full picture of the requirements and the dependencies of each.
- Start with a full picture of the cost, and preferably from a financial position that will allow you to keep up a high pace of training. It’s cheaper to wait and start with more money in the bank. I delayed my own journey several years for this purpose.
- Plan as much as possible for circumstances outside of your control, such as maintenance issues, airplane availability, bad weather, and bureaucracy.
- Study at home; it’s free.
- Fly as often as possible for maximum skill retention.
I hope that this guide has helped clear up some of the murky information that exists on the subject of flight training in Canada. Please reach out to me (see below) if there is anything that I can further clarify for you. Canada is a spectacular place to learn and enjoy the pleasure of flight—book an intro flight and see for yourself!
-
Note that in Canada, you may speak English or French on the radio anywhere in the country. However, Air Traffic Services such as ATC and weather information are only available in French if you’re in Quebec or Ottawa. This means that you must speak and understand English in order to be cleared to fly into any controlled airspace outside of Quebec and Ottawa. Air Traffic Services are available in English at every station, including those in Quebec and Ottawa. ↩
-
A radio license is not actually required to fly solo, only to operate the radio in an airplane. Not all small aircraft are even equipped with a radio. I present the radio license as a requirement here because (a) it is not legal fly in ATC-controlled airspace without communicating on the radio, and (b) it is not particularly safe to fly out of uncontrolled (“pilot-controlled”) airports without using the radio; flight schools typically don’t allow it. ↩